WarFront Buildings Tier List
Every major structure ranked for OpenFront-style conquest in WarFront [AIRPORT].
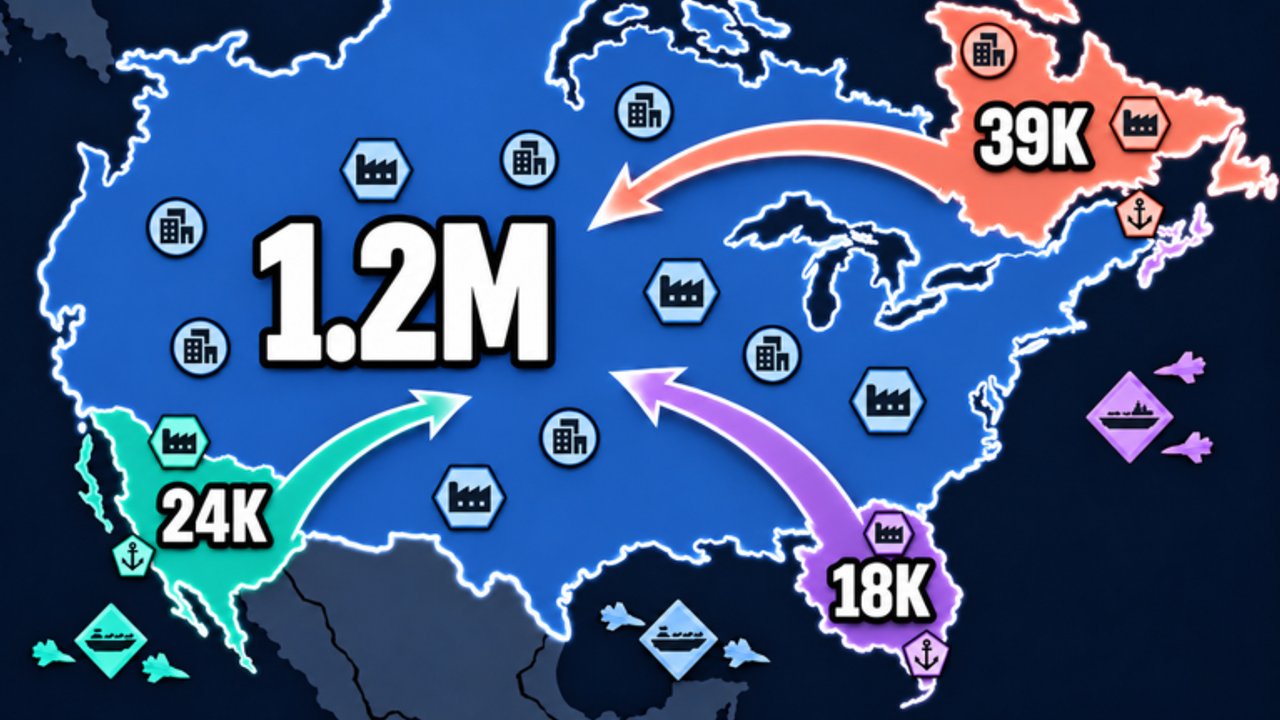
Tier list overview
This ranking covers the core WarFront structure set players manage while expanding toward world control: City, Port, Factory, Defense Post, SAM Launcher, and Missile Silo. It complements the systems deep dive in Buildings guide and the plan picker in Strategies.
S = build early and often when terrain allows. A = excellent once the economy breathes. B = situational or timing-gated. Situational = powerful in the right lobby, wasteful on autopilot.
S tier
City
Cities are the backbone of population growth and long-run troop income. In OpenFront-style rulesets, neglecting Cities is the fastest way to plateau while a neighbour snowballs. Early Cities convert safe land into a higher ceiling; mid-game Cities fund the attacks that actually move the world-control bar.
Build when: you hold contiguous safe tiles and are below the density where new Cities stop paying off quickly. Skip when: you are about to lose the capital cluster and need emergency Defense Posts or a retreat boat — survival first. Synergy: pair with the ~41–42% population sweet spot from Troop ratio so new housing turns into growth instead of idle workers or empty fronts.
Port
Ports unlock coastal income, boat logistics, and the naval half of the game. On maps with meaningful water (WarFront’s airport / coastal layouts included), a timed Port is as important as a City. Boats let you bypass stalemate borders and open second fronts — see naval notes in Strategies.
Build when: you touch water and expect trade or invasions to matter within a few minutes. Skip when: you spawned fully landlocked with no realistic path to shore before the mid-game scramble. Synergy: Ports plus Factories accelerate war material; Ports plus SAMs protect coastal eco from opportunistic nukes later.
A tier
Factory
Factories boost industrial throughput so your gold converts into sustained pressure. They are rarely the correct first structure, but they are the correct scaler once two or three Cities (and a Port if coastal) are online. Think of Factories as force multipliers for an already healthy eco boom.
Build when: income is stable and attacks stall because you cannot replace troops fast enough. Skip when: you still lack basic Cities or you are racing a neighbour for empty land — claim tiles first.
Defense Post — A when holding, B when racing
Defense Posts harden a border. They are A-tier on a valuable chokepoint against a similar-sized rival, and B-tier (or worse) if you spam them instead of Cities while the map is still mostly unclaimed. Over-fortifying a tiny empire is a classic beginner trap called out in Getting Started.
Build when: a neighbour is massing on a short border you must keep. Skip when: expansion voids are still open; spend on growth structures first.
A tier (late game)
SAM Launcher
SAMs exist to contest nuclear doctrine. Early SAMs on an empty lobby are wasted gold. The moment Missile Silos appear — or a leading player can afford Atom / Hydrogen / MIRV pressure — SAMs jump to A. Place them to cover Cities, Ports, and silo clusters, not random desert tiles. Full intercept logic is in Nukes and defense.
Build when: you or your allies are entering silo range, or a rival just finished one. Skip when: nobody can threaten airbursts yet and you still need Cities.
Situational
Missile Silo
Silos are win-condition instruments and diplomatic bombs. A well-timed strike can shatter a coalition leader; a premature silo telegraphs intent and invites a preemptive dogpile. Rank: situational, never autopilot S-tier. Combine with SAMs so your own eco survives the retaliation wave.
Build when: you have spare industrial capacity, a clear target worth the fallout politics, and enough conventional troops to exploit the hole. Skip when: you are still below comfortable map share or cannot fund both silo and SAM coverage.
Suggested build order (default FFA)
- Secure spawn land with measured attacks (never 100% troops).
- City priority until growth feels elastic.
- Port as soon as you hit useful water.
- Factory to stabilize replacement rate.
- Defense Posts on hot borders only.
- SAM when nuclear shadows appear.
- Silo when you can afford the political and economic cost.
Adjust for Blitz (fewer Factories early, more attack tempo) or Turtle + Nuke (earlier SAM/Silo package).
Common ranking mistakes
- Building SAMs before the first silo exists anywhere.
- Three Defense Posts, one City, then wondering why population caps.
- Silo before Port on a water map.
- Ignoring Ports entirely because “land feels safer.”
- Letting scripts auto-place trash Defense Posts on empty borders.
Related pages
Balance numbers can shift after NutPunch patches — verify against the changelog if a structure suddenly feels overpriced.
Frequently Asked Questions
Quick answers to the most common questions.
Is City always better than Factory?
Early yes for almost every spawn. Factories shine after you have enough Cities (and a Port if coastal) to feed them. Scaling without a base eco wastes the Factory.
When do Defense Posts become A-tier?
When you are defending a short, valuable border against a peer threat. During the open-land race they drop to B because Cities claim more future power.
Why are SAMs only A late?
Their job is missile defense. Before silos and nuke budgets exist, that gold belongs in Cities, Ports, and Factories.
Should I rush Missile Silo for free wins?
No. Silos are situational. Bad timing paints a target on you and burns gold you needed for conventional map share.